Systems Configurator
HYPER-LABS: Systems Configurator
Intended audience - all channel partners
Configure | Validate | Deploy
Start Configuring
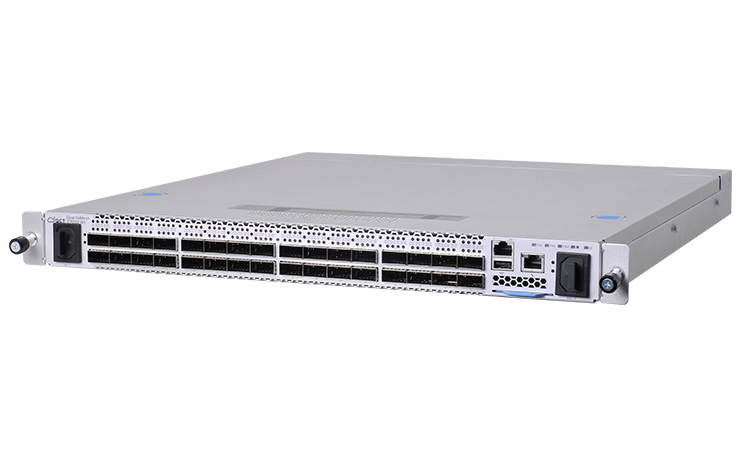
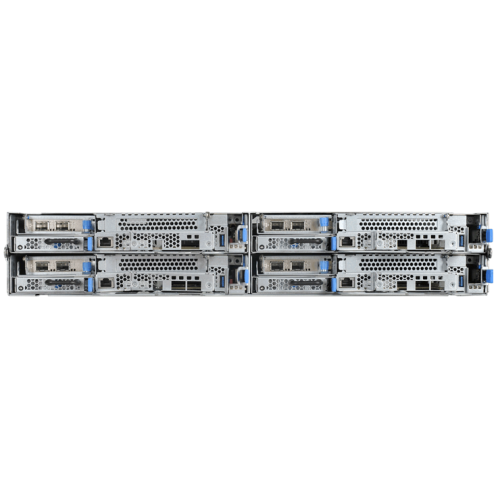
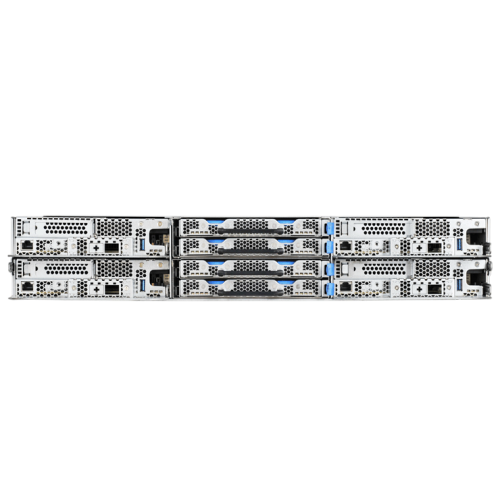
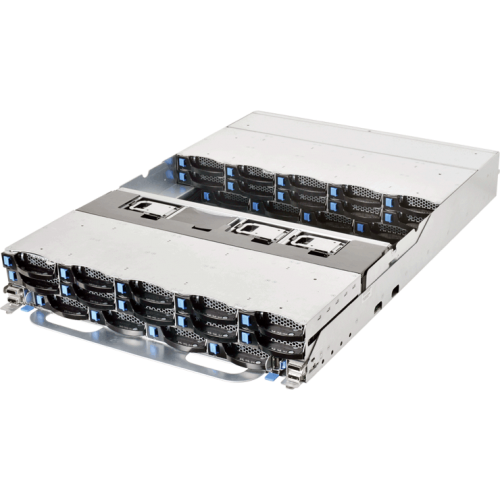
The HYPERSCALERS’ Systems Configurator enables our channel partners and their customers to customize the desired systems-configuration of our Hyperscale architecture range including: Server, converged, storage, GP-GPU and switches. Hyperscale Defined: Hardware used by the macro service providers – Facebook, Microsoft, Google and Alibaba. Growing adoption by small to large cloud service providers. The HYPERSCALERS’ systems configurator tool also enables our channel partners and their customers to customize the desired systems-configuration of our Tier 1 Original architecture range including: Server, converged, storage, GP-GPU and switches. Tier 1 Original- Defined: Hardware currently in use, or planned to be in use by the Tier 1 OEM. By simply selecting from a list of pre-validated sub-system and components, users of the Systems Configurator can configure validate and deploy the systems they need quickly, reliably and at a fraction of historical costs CPU and RAM
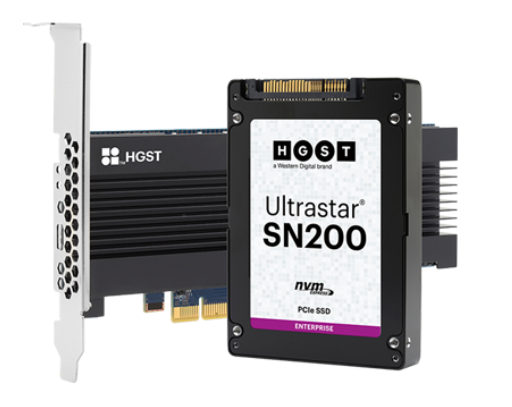
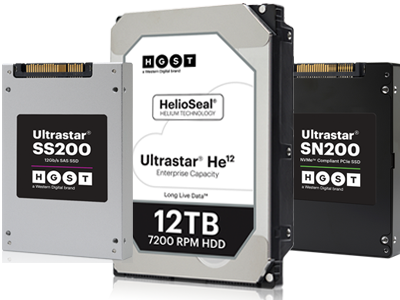
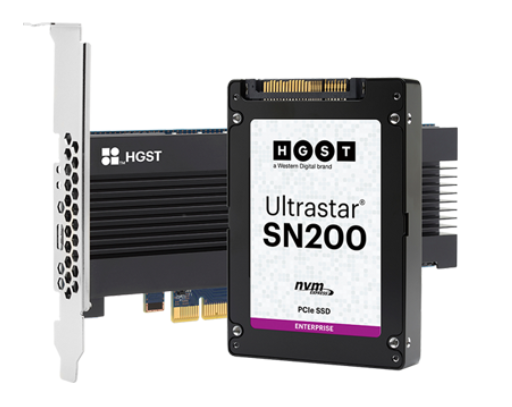
HDD SSD and NVMe
FRU Parts list and NIC LOM
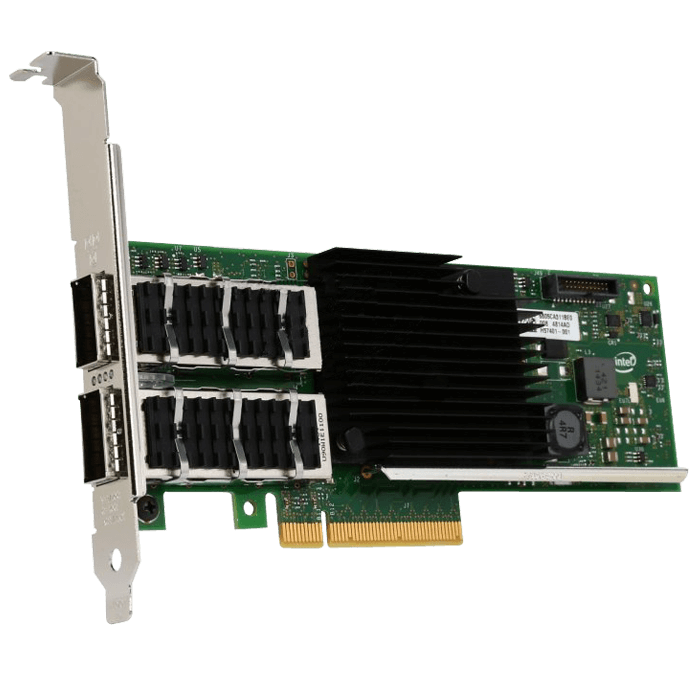
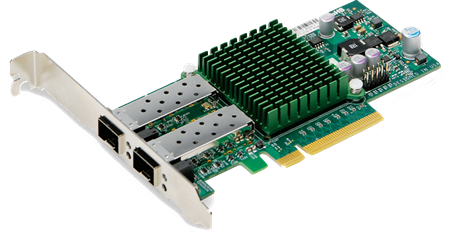
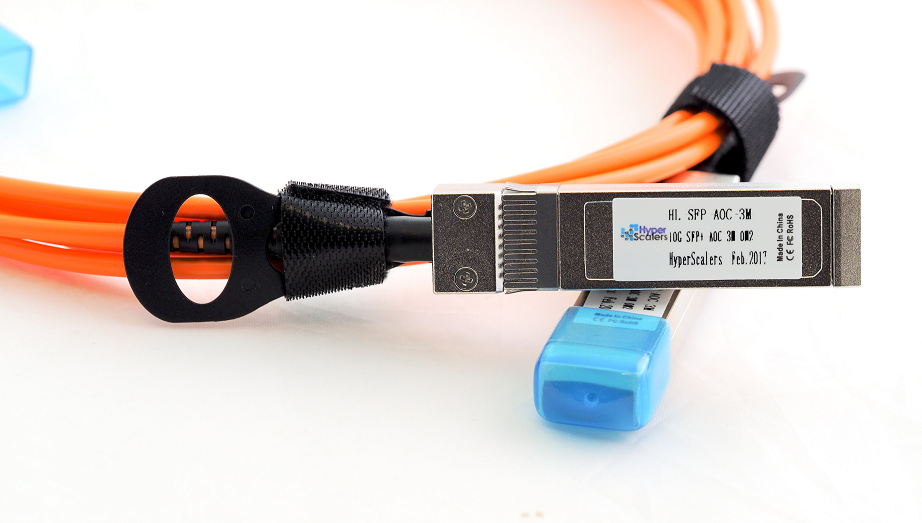
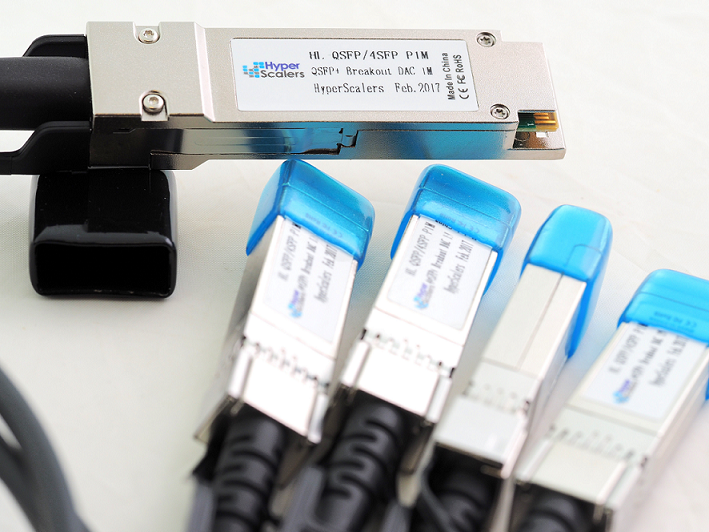
QSF+ SFP+ SFP28+
|
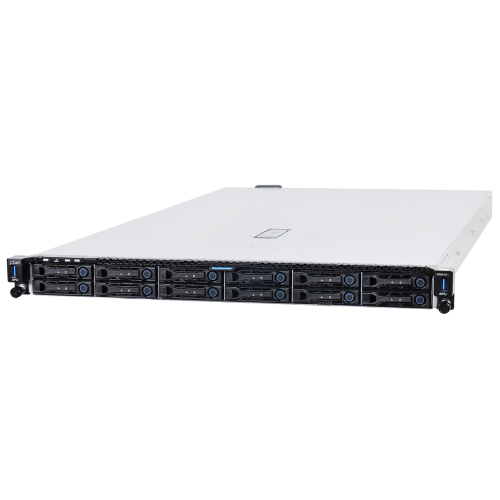
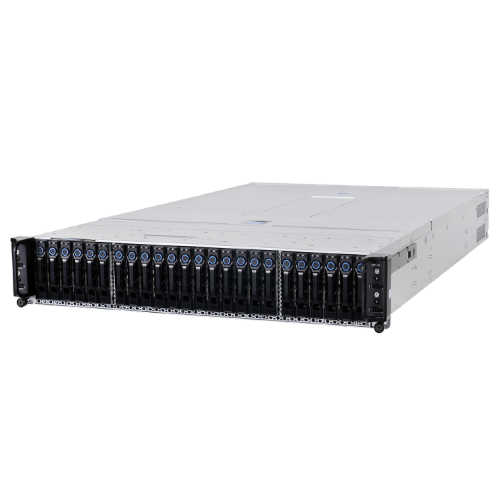
Tier 1 Original Converged Servers
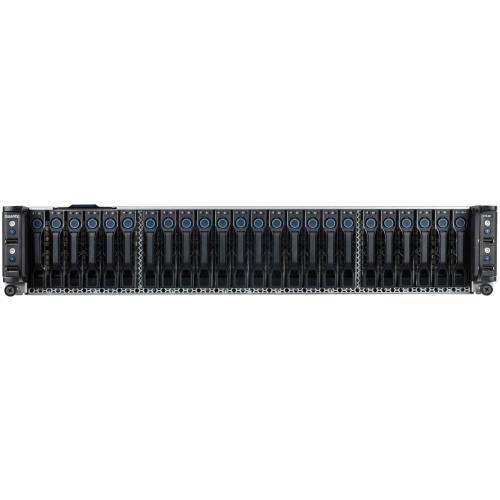
Tier 1 Original Storage Servers
Tier 1 Original GP-GPU | Xeon Phi Servers
|
|
Be the solution your customers need. Join our channel partner programme, today!
Four Step Guide to Configuring Servers
This is a Four(4)-step guide to configuring Hyperscale and or Tier 1 Original: Servers.
Step 1 – Navigate to and select desired server to configure
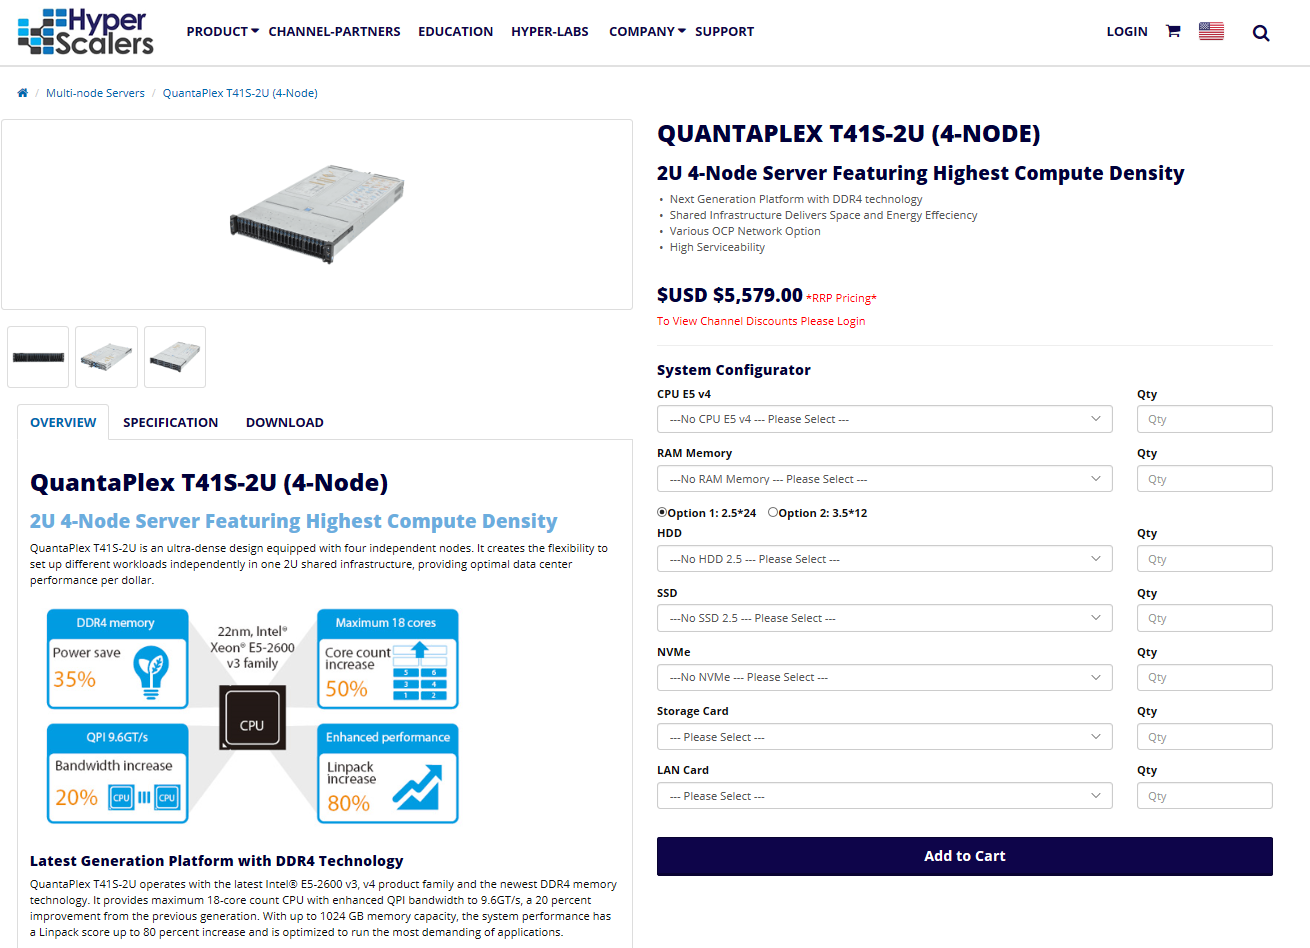
Firstly, navigate to the server you wish to configure. Notice how all the options in the system
configurator default to ‘please select’ and their QTY are left blank.
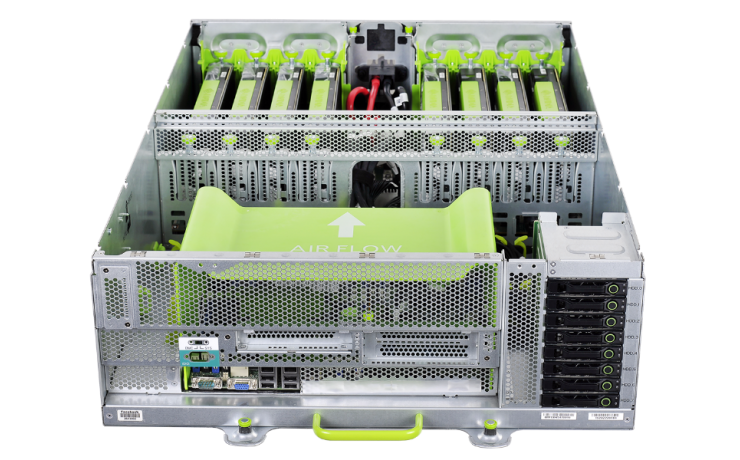
This is called a bare bone server aka Level 6 or L6. Which includes: Level 6 Server
|
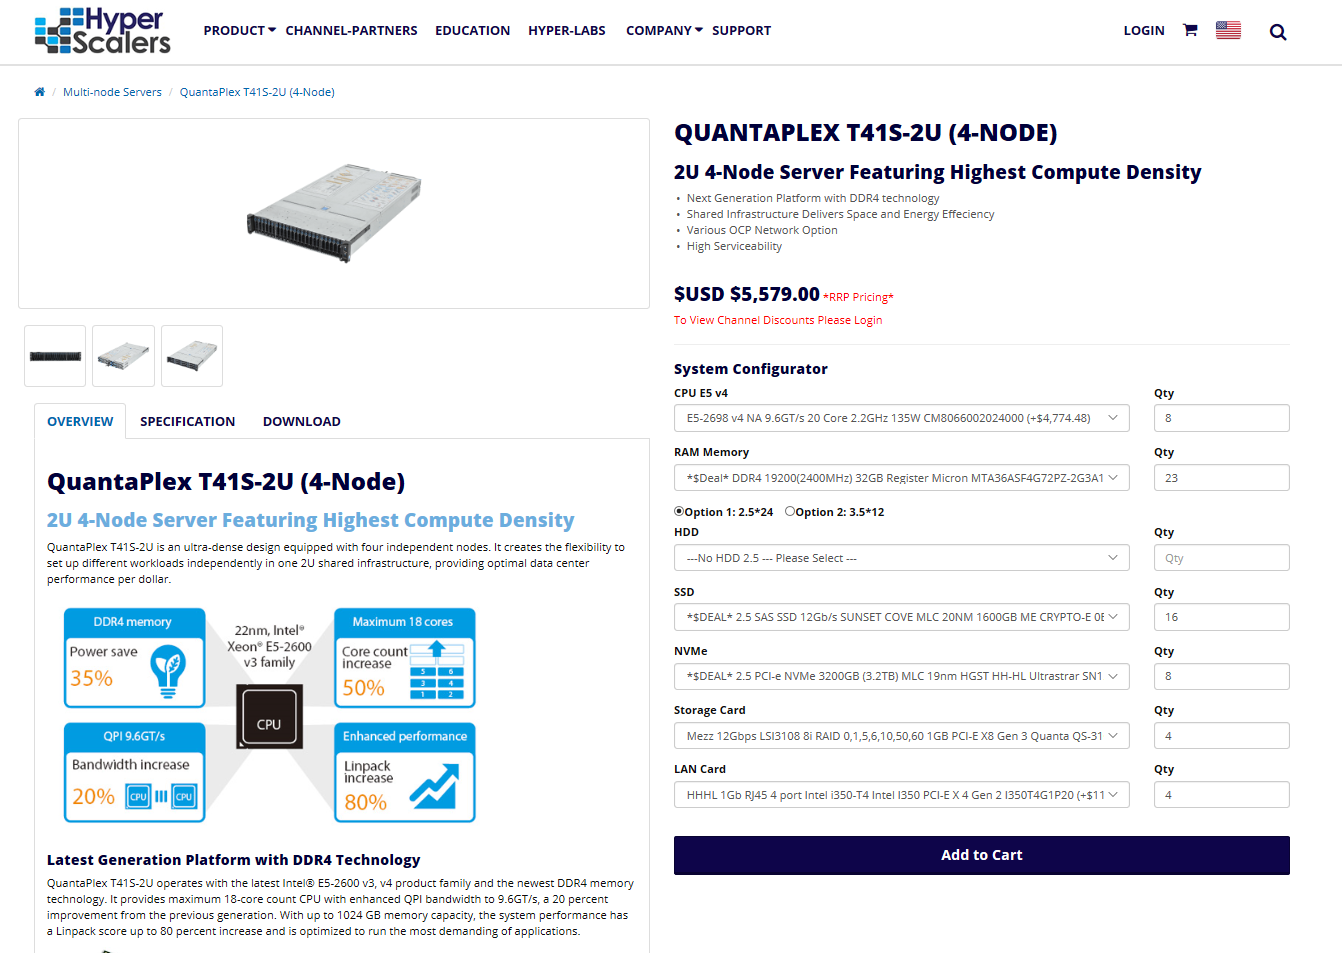
The aim is to populate the Level 6 server with all the necessary subsystems and components to reach level 10: Fully assembled and Tested System. These include: Level 10 Server
|
Step 2 – CPU and RAM
Select CPU type and QTY Select RAM type and QTY |
CPU and RAM
|
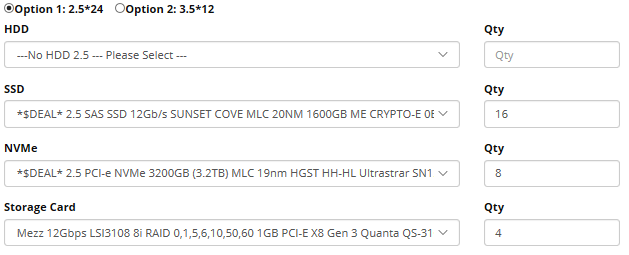
Step 3 – Storage and Storage Card
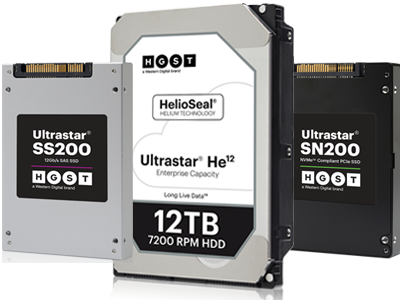
Select HDD type and QTY Select SSD type and QTY Select NVMe type and QTY Select Storage Card type and QTY |
Storage and Storage Card
|
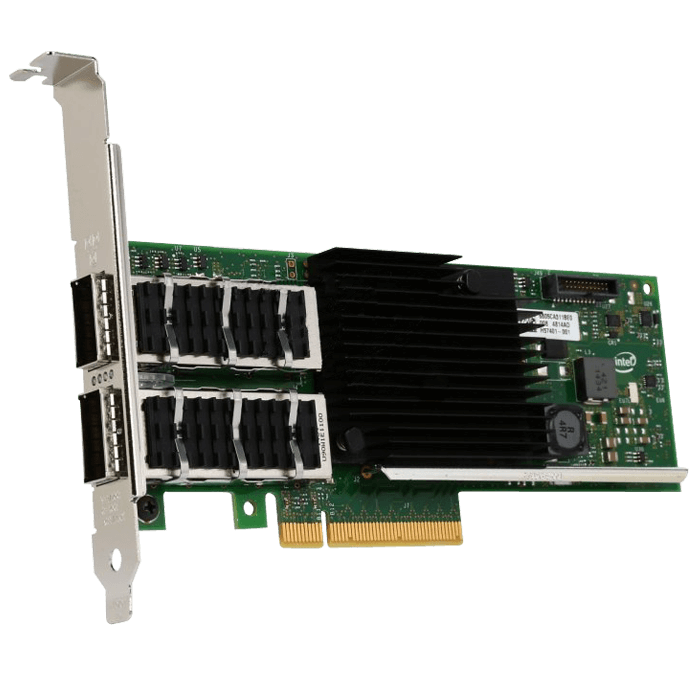
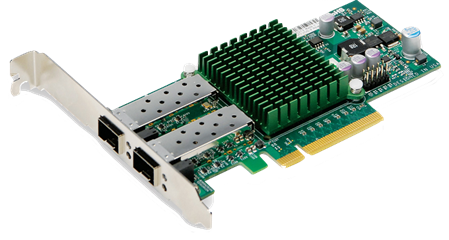
Step 4 – Select LAN | NIC Card
Select LAN | NIC card and QTY; and Click ‘Add to Cart’ |
   |


 US site